A couple of days ago I showed you two cards that I made for my stamp club and promised that I would show you the other two cards that we also put together!

We used two stamp sets:
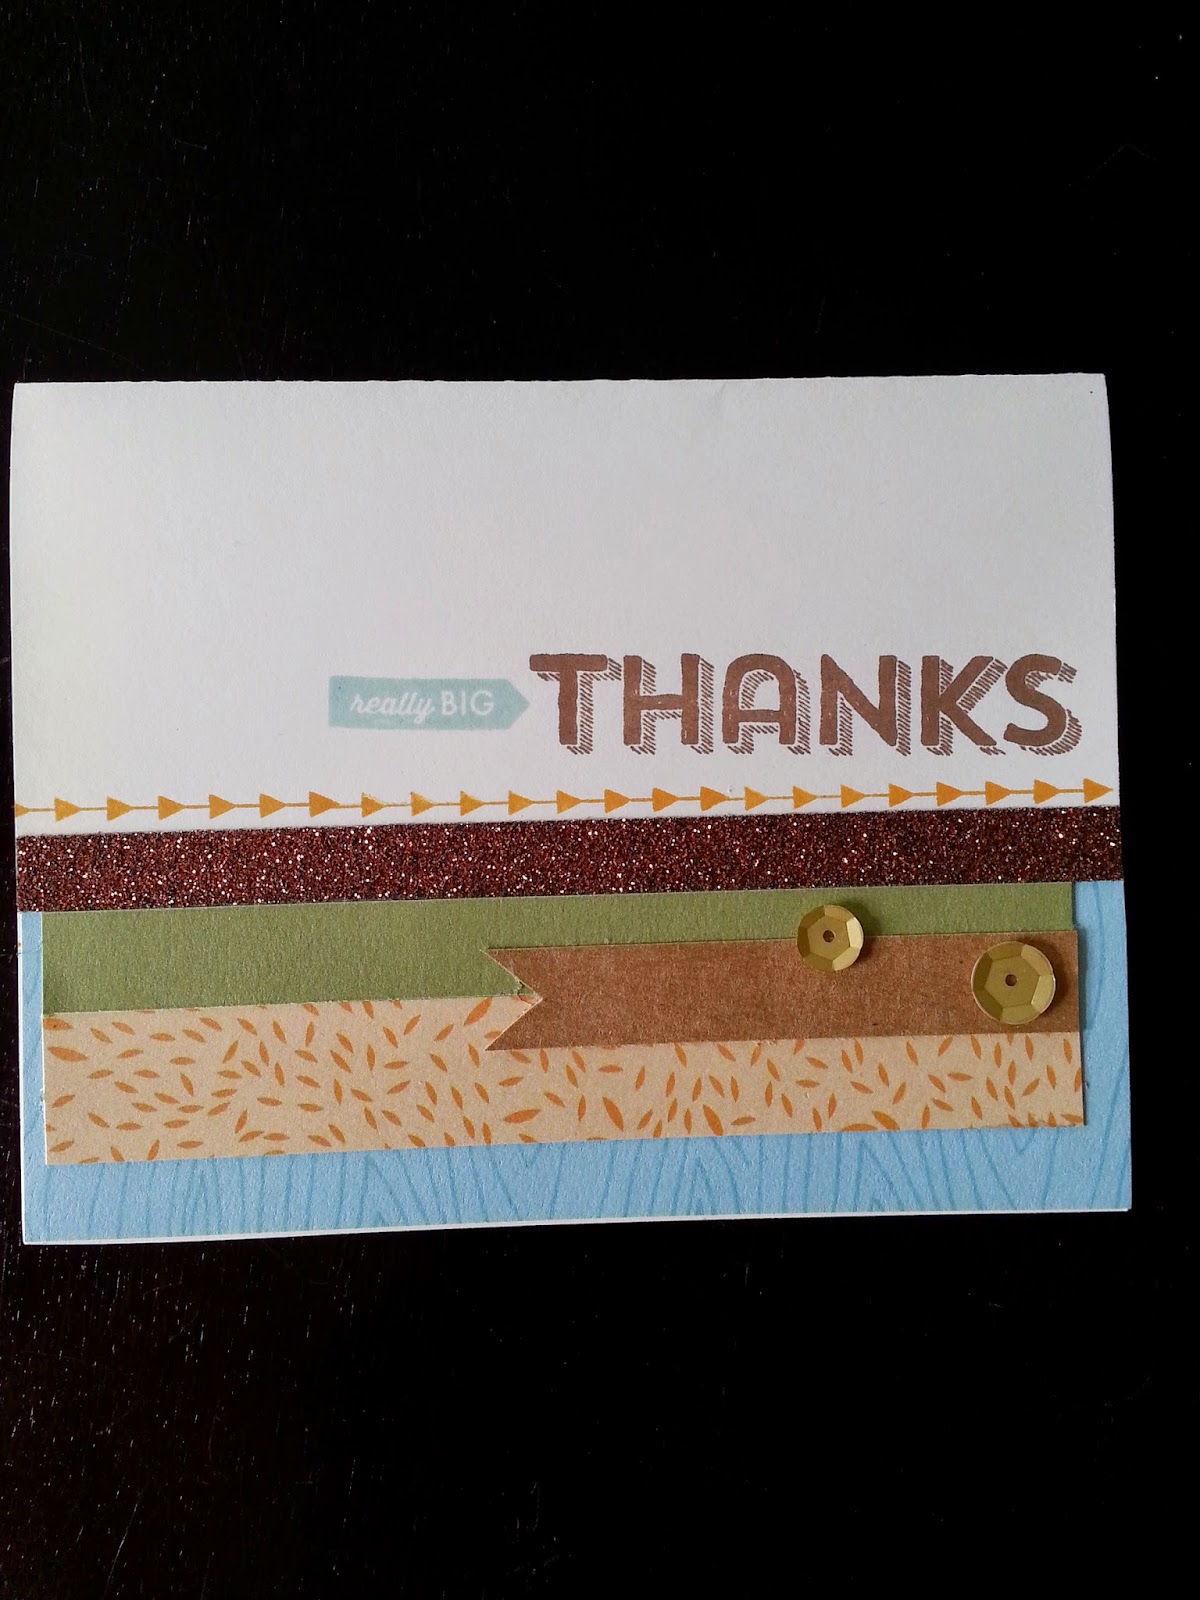
Season of Thanks border stamps
I took one of the border stamps from this set (there are three)and I stamped with Goldrush ink and before stamping and it was still wet on the stamp, I "rolled" the edges in the Olive ink pad and then I stamped the entire image in the middle of the Colonial White Cartstock and then I tore the edges and took a sponge and sponged Goldrush ink on the edges.
Beyond Measure Stamp set
I stamped the pumpkin stamp with Autumn Terracotta ink. I cut it out and sponged the stem in Chocolate ink. I then took my embossing pad and dabbed over the pumpkin. I then added detail clear embossing powder to the image and heat set it to give that glossy look.
I then cut out two leaf stems with my Artiste Cricut Cartridge:http://marianqcreations.ctmh.com/Retail/Product.aspx?ItemID=6719&ci=85
I sponged the edges of the leaves with the Olive ink and carefully used the edge of the Damask embossing Folder to give the leaves some texture. I then did the clear embossing like I did the pumpkin above.
Using the Triangle Border Punch I punched a piece of Olive cardstock, attached the Goldrush paper under it and then I glued all the pieces of my card on background texture paper from Pathfinding Paper Packet and finished with Bling Gems Gold assortment.
My next card is from a card making kit called Workshops on Go Pathfinding Cardmaking kit.
These kits are awesome. Using the stamp set, instructions, accessories along with your additional supplies** you can use this kit to make 15 beautiful cards! Here is one of them:
Here is what the 15 cards look like that I made from the kit:

And thanks to information from a fellow consultant Pam Jarret, she shared that with the leftover paper you can make 15 more cards! You only have to add your own card bases and envelopes!
Here is a picture of the additional cards and the leftover paper..

So that is a total of 30 cards! Whoo hoo! If this is something that interests you here is what the additional supplies you would need to complete all of the above:
Chocolate ink pad, Desert Sand ink pad, Glacier ink pad, Goldrush ink pad and you can find them here: Exclusive Ink Pads
Also, our acrylix blocks to attach your stamps on: http://marianqcreations.ctmh.com/Retail/Search.aspx?SearchValue=acrylix+blocks
Whew! that was a long post. Hope you enjoyed the detailed tutorial. If you would like more this..or not.. feel free to leave a comment and let me know. I would love to hear from you! Have a great weekend!!

No comments:
Post a Comment